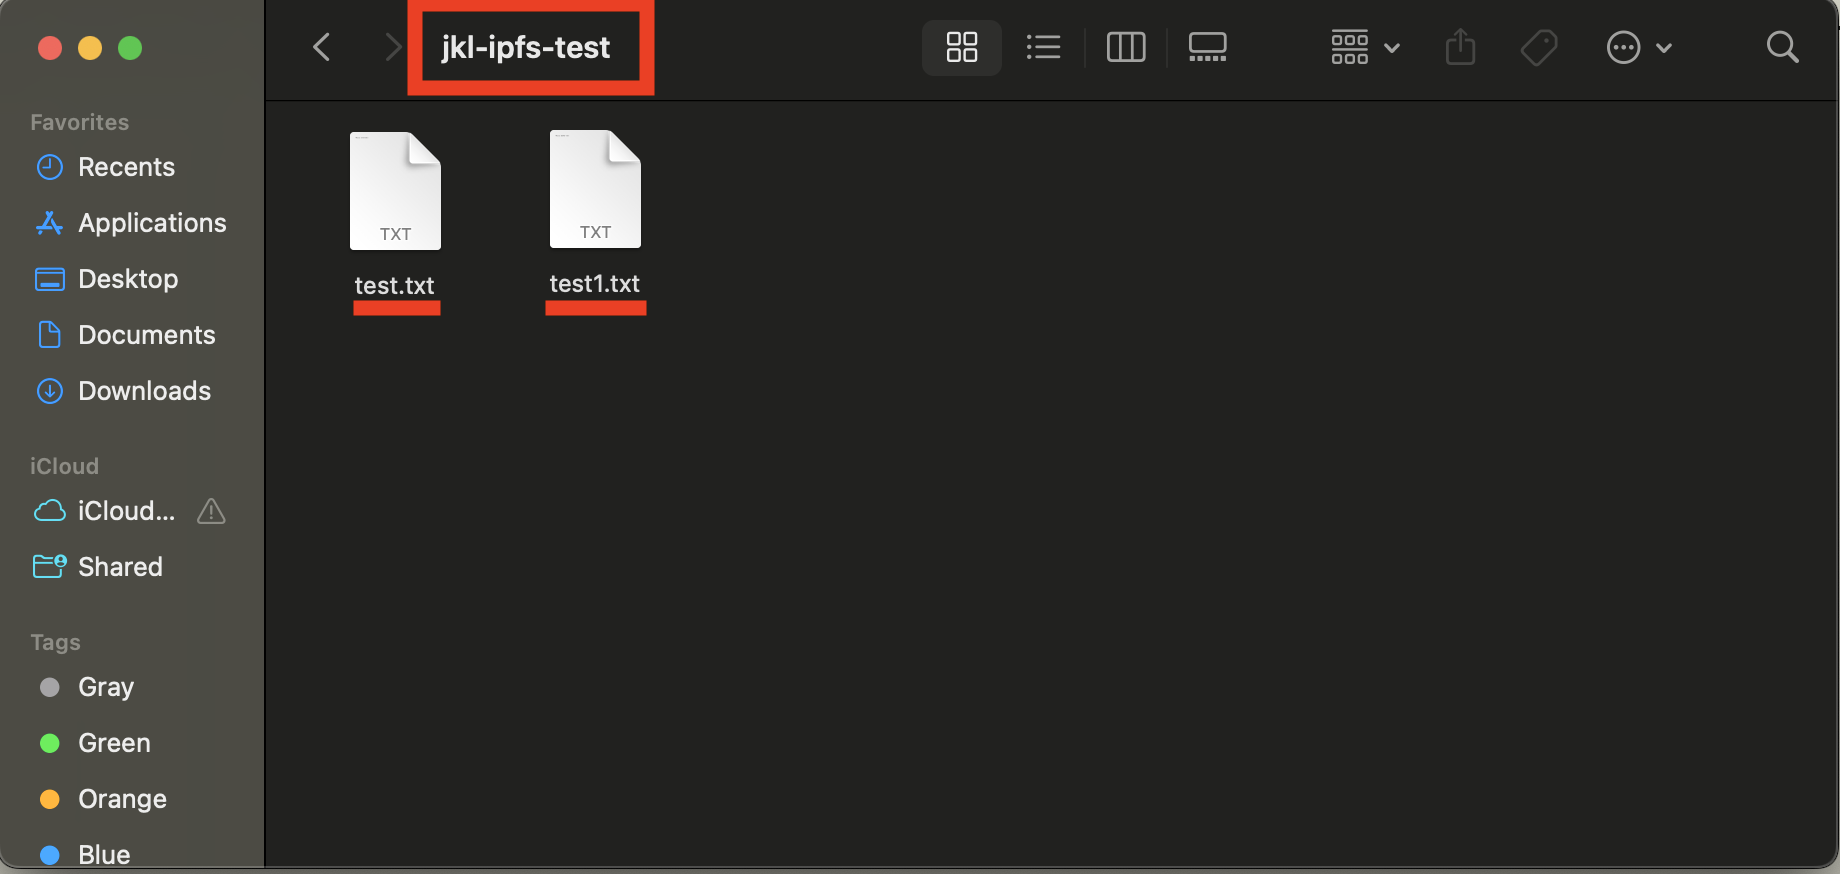
jkl-ipfs-test.
The folder has 2 .txt files stored inside.
If you are uploading NFT assets, pretend the
.txt files are your image
assets.
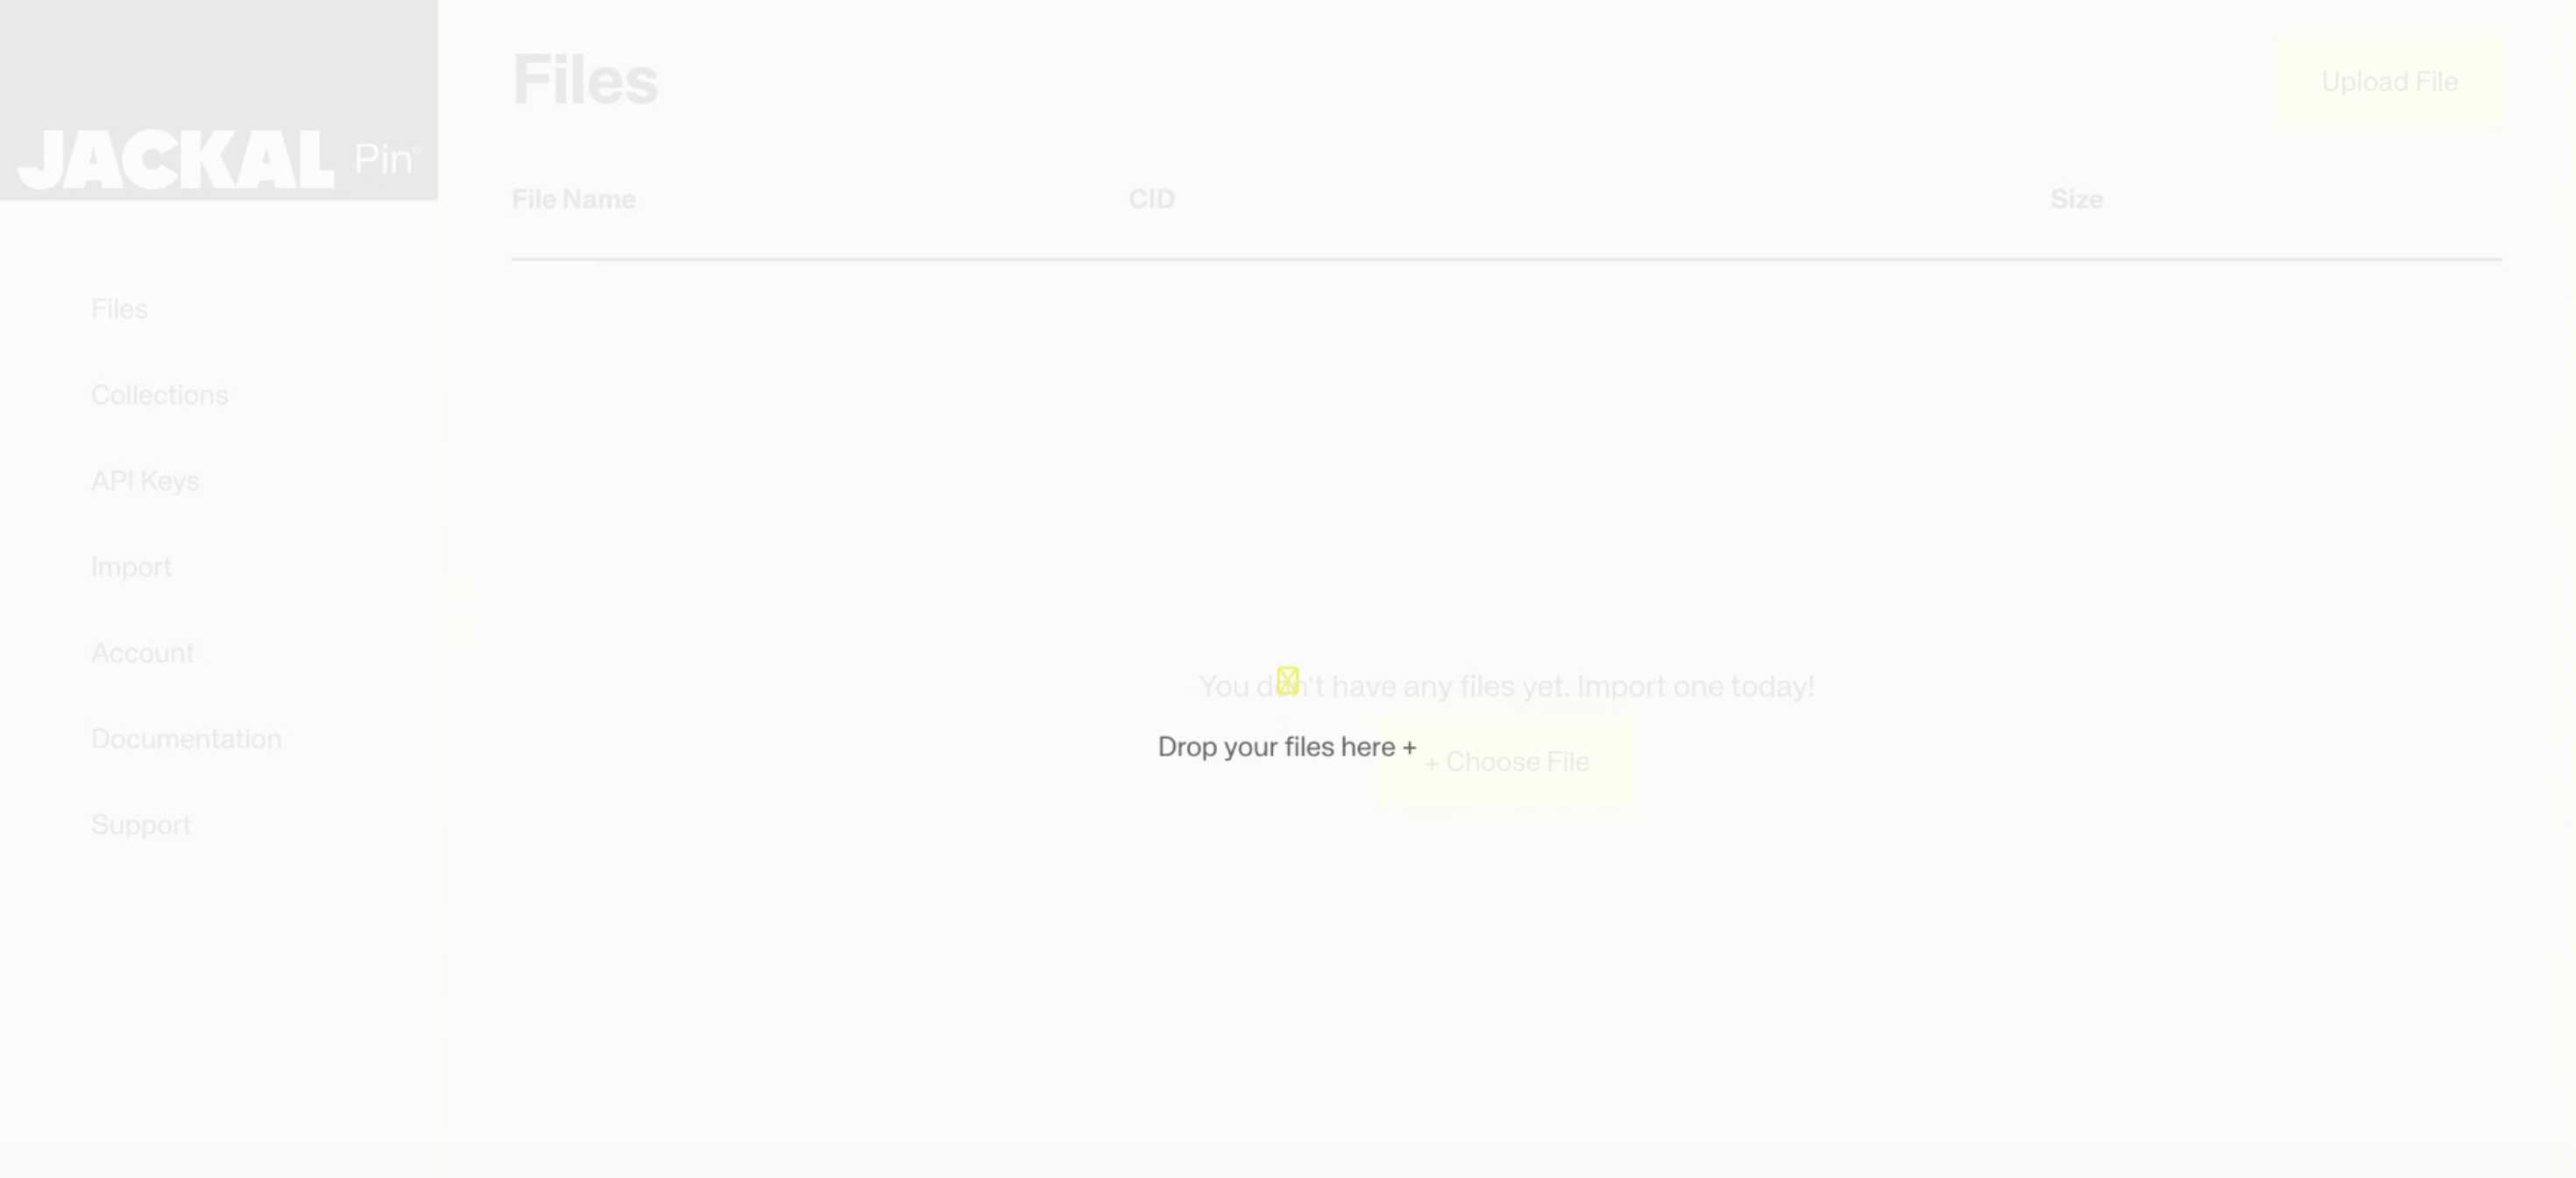
Drag and drop a folder
You can drag and drop a folder directly into Pin and it will create a collection with the
folder name and sort the files inside, preserving file structure.Dragging a folder pin should trigger the screen below.

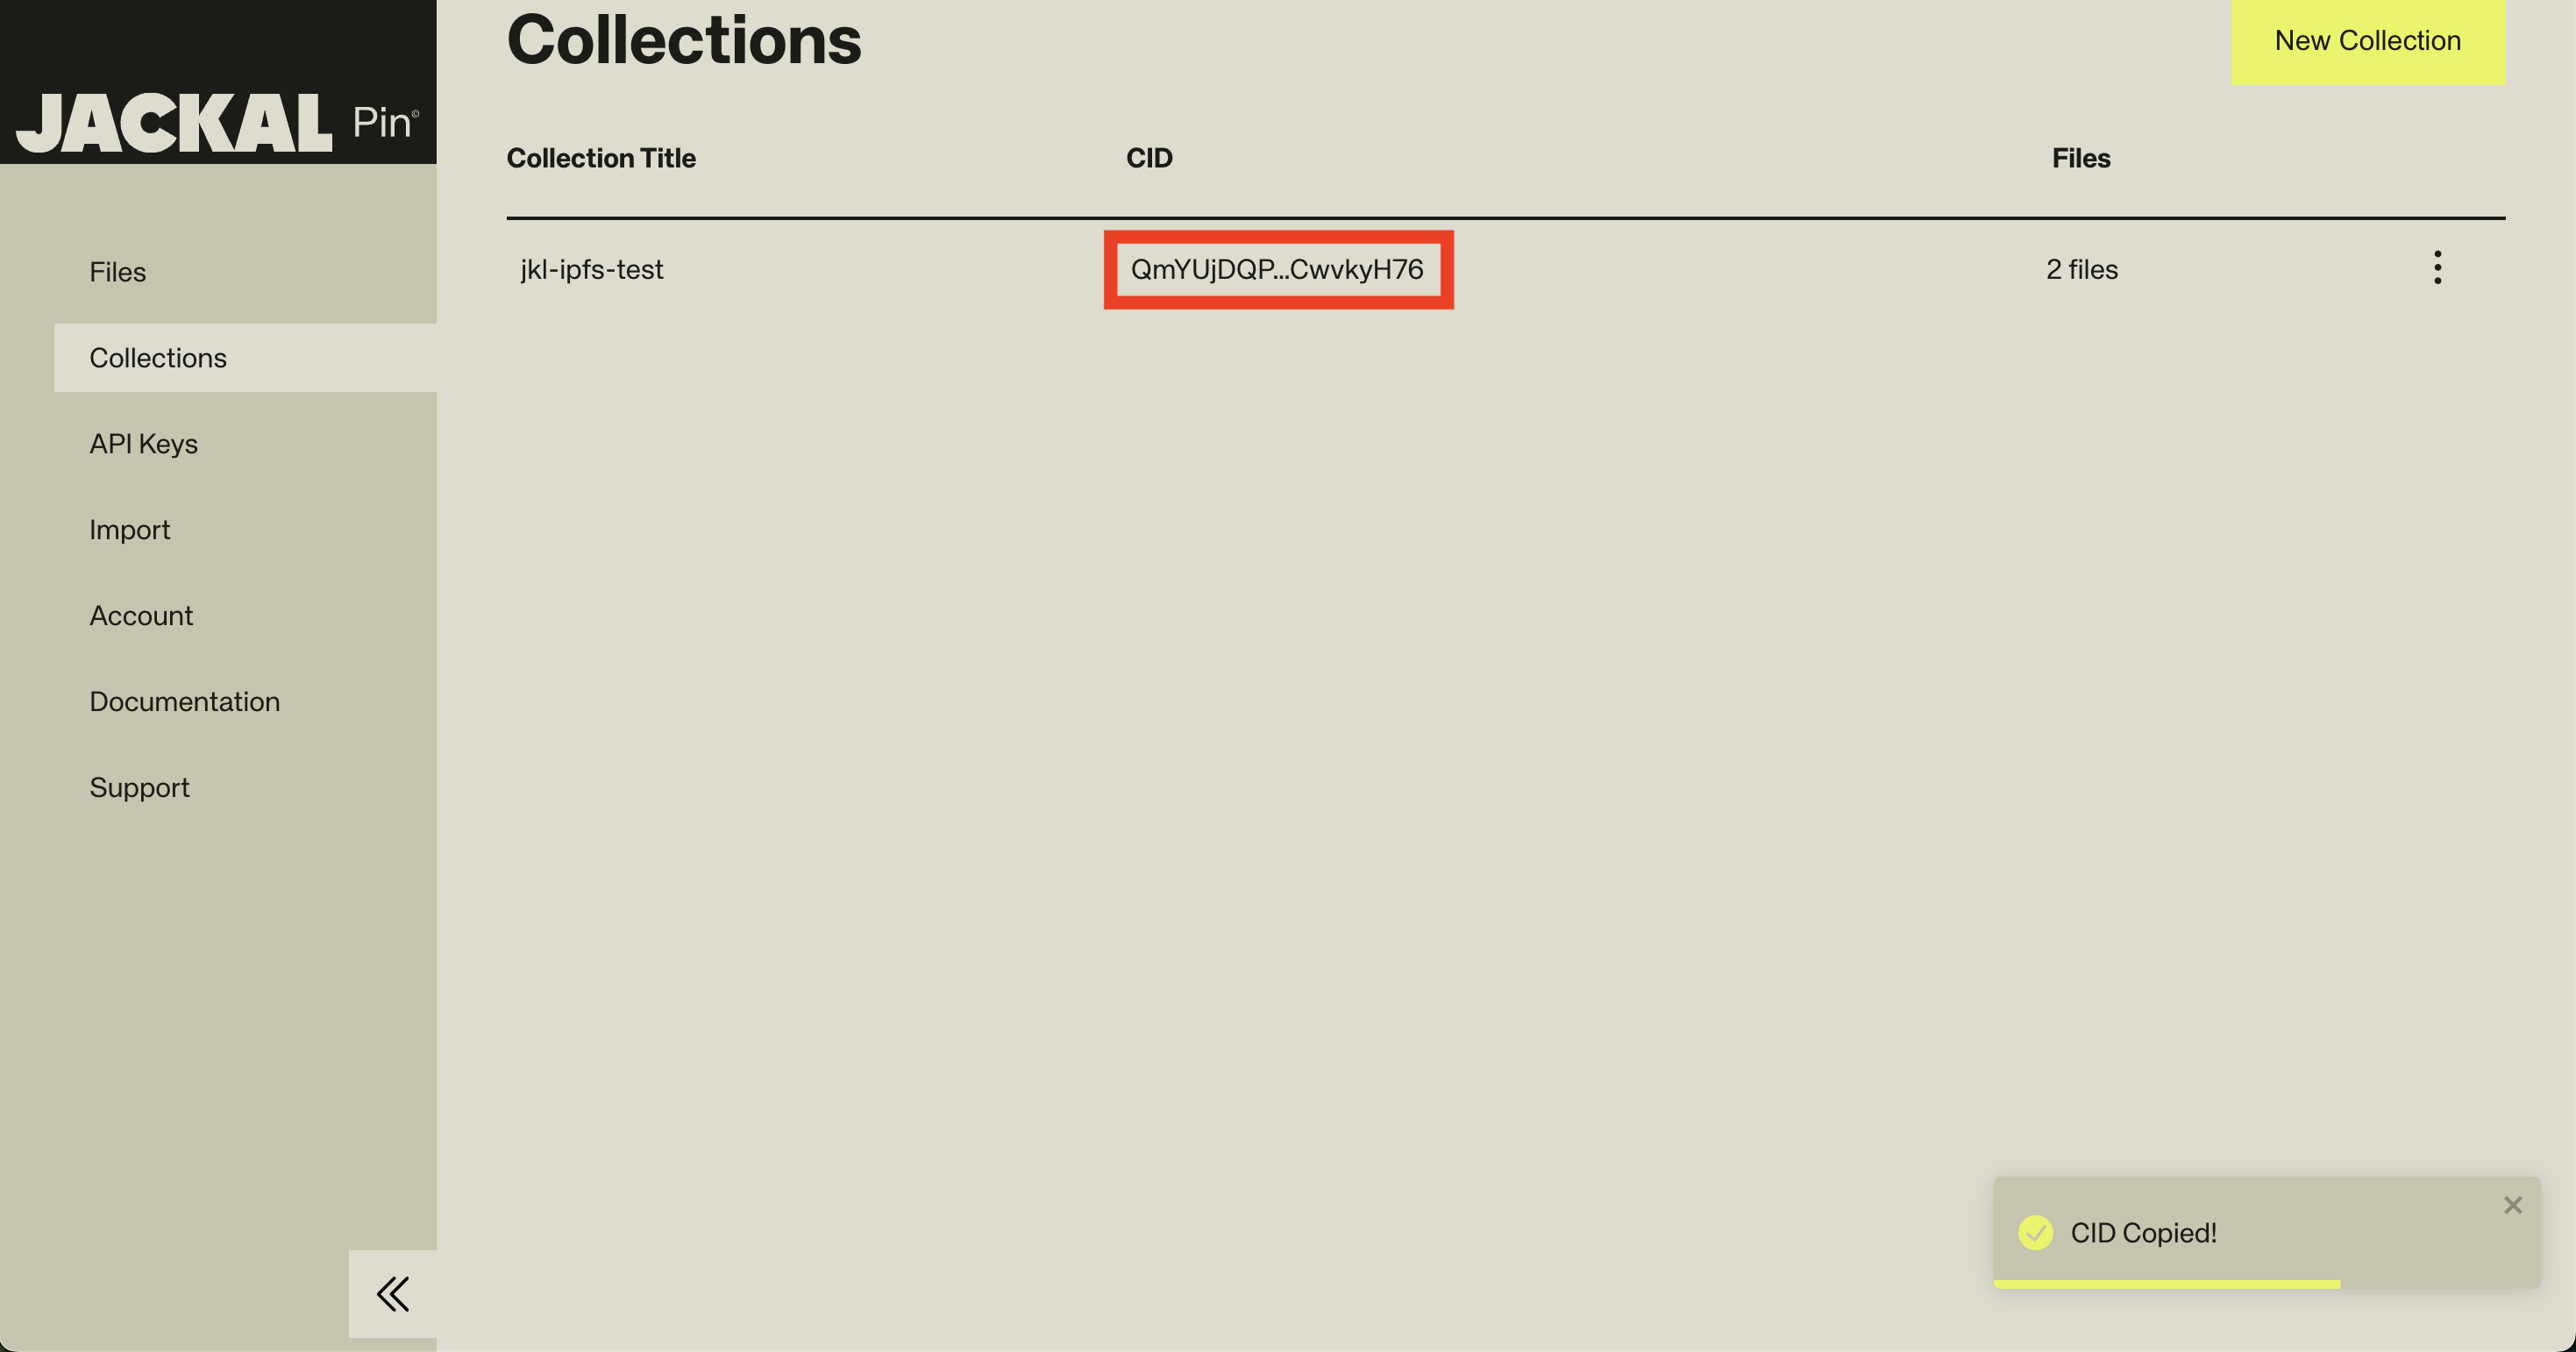
View Uploaded Collection
After the upload is successful, you can see that the folder supports the structure of the uploaded folder.

Using Your Collection CID
Once you’ve successfully uploaded your collection, you can use the CID in various ways:- For NFT Assets: Use the collection CID to reference your entire asset folder in NFT projects
- In NFT Metadata Files: Include the CID in your NFT metadata JSON files to link to images and other assets
- For NFT Marketplaces: Use the CID when minting or listing NFTs on platforms like Stargaze.
- For NFT Smart Contracts: Reference the CID in your smart contracts for on-chain verification of assets
- For NFT Galleries: Create decentralized galleries that display your NFT collections using the CID
